System Requirements
The Calyo Sensus app has been designed to run on any machine with a GPU. Best performance will be achieved with a dedicated graphics card, though this is not a necessity.
The quality presets will allow you to tune the processing load to best suit your machine, below is a table showing an indicative sample of optimal presets for some machines we tested on.
| CPU | GPU | Ded. (Y/N) | Operating System | Quality Preset | ~FPS |
|---|---|---|---|---|---|
| Intel i9 12th Gen | NVIDIA 3080 Ti | Y | Windows 10/11; Ubuntu 20.04 | High | 60 |
| Intel i9 12th Gen | NVIDIA 3070 | Y | Windows 10/11; Ubuntu 20.04 | Medium/High | 60 |
| M1 | M1 GPU | N | OSX | Medium/High | 60 |
| Intel i7 11th Gen | Intel Iris X | N | Windows 10/11 | Low/Medium | 40 |
| ARM Cortex-A57 | NVIDIA Jetson Nano | N | NVIDIA Jetpack 4.5 | Low/Medium | 40 |
Supported Platforms
The app has cross platform support for Linux, Windows and MacOS. The following platforms have been tested and verified:
-
- Windows 10/11
- Linux: Ubuntu 20.04
- MacOS: Ventura 13.1 (M1)
- Jetson Nano: Jetpack 4.5
If your system is not found in the list above, it is likely the Calyo Sensus app will still run with no issues, however we have not verified this ourselves so can offer no guarantees.
Getting Started
First, download the Calyo Sensus app for your platform here. Once downloaded, extract the application to your desired location.
On Linux, to prepare the environment for the device drivers, you will need to run the following command, before opening the application:
sudo rmmod ftdi_sioAlternatively, there is a launch script you can run to automate this process.
Using Calyo Sensus SDK
The Calyo Sensus SDK is a collection of software modules to enable connecting to and interfacing with Calyo Pulse devices, computing realistic simulations and performing real-time, hardware accelerated imaging.
Calyo Sensus GUI is an application that is available to evaluators to demonstrate this functionality in a convenient, visual, cross-platform package.
Upon opening the SDK, you will see a blank project page ready for loading in datasets or physical devices and running various algorithms, as shown below.
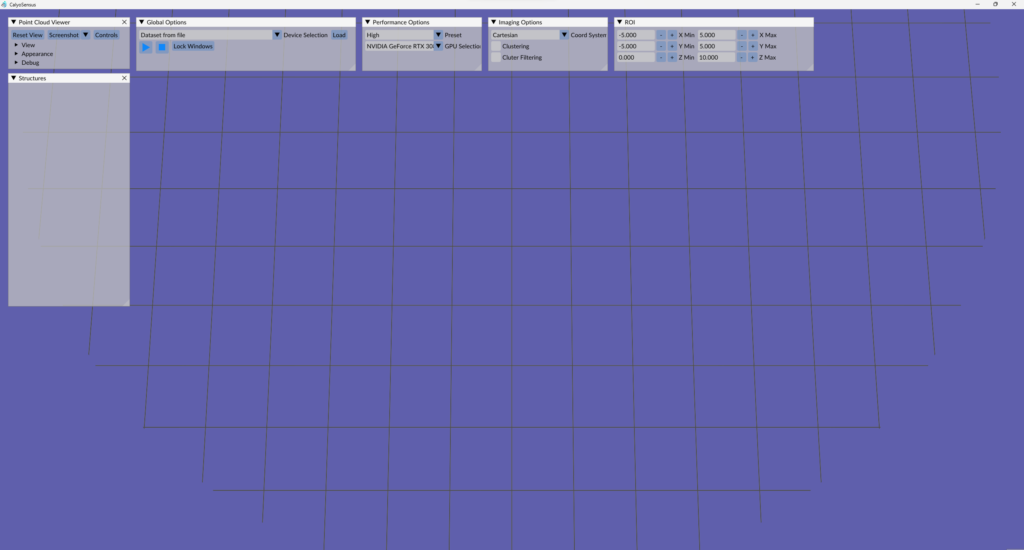
1. Global Options
This window allows you to configure a source of data which to image and display to the screen.
The dropdown menu enables you to select either a previously saved dataset from a file, or a physical device connected to your computer over USB. The ‘dataset from file’ option will always be available, while the application will continuously scan for connected CalyoPulse devices and add them to the list if found.
Once a selection has been made, click ‘Load’, and that device will be used once the imaging process begins.
If loading a dataset from file, a file explorer window will pop up allowing you to select a dataset to be imaged. Datasets are available from Calyo.
2. Performance Options
This window allows you to tune the performance of the app depending on your available computer hardware.
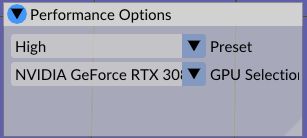
The performance pre-set will scale point-cloud and image resolution to an appropriate level (see System Requirements table above). In general, computers with dedicated GPUs will be able to provide higher performance, however it may be worth testing to see which pre-set works best for you.
3. Imaging Options
This window enables selection of different imaging options.

The dropdown menu allows you to switch between cartesian and polar coordinate systems, the former providing a more consistent point-spacing at all ranges, while the latter providing data more akin to LiDAR point clouds. Note that switching of the coordinate system will only be available before the imaging processing is launched; if the imaging is currently running, you will need to stop it and start again for the selection to take effect.
The remaining options, ‘Clustering’ and ‘Cluster Filtering’ are post-processing techniques which can be optionally applied to the point cloud. Enabling clustering will group points together based on proximity (see below), enabling enhanced object identification.
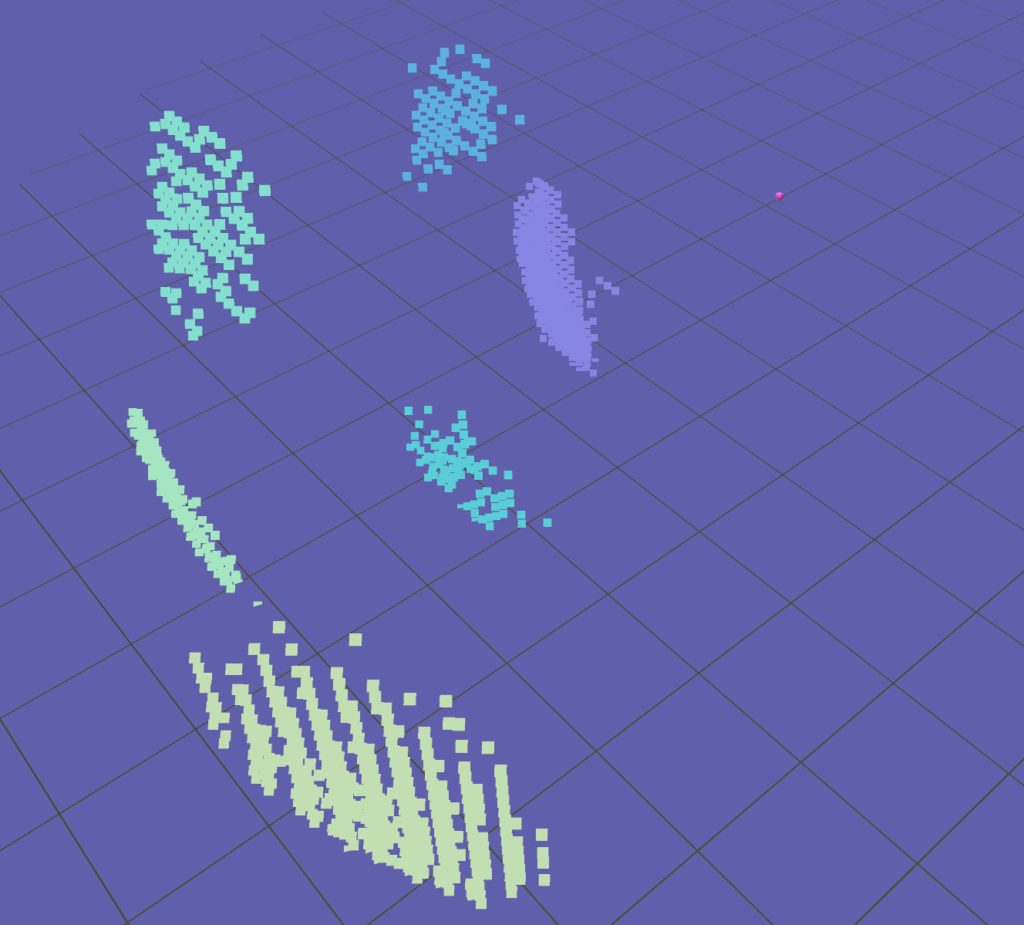
To guarantee a certain level of performance, clustering will only be applied to point clouds below 10,000 points. This means that you will need to adjust the noise-thresholding level accordingly for the clustering to take effect.
Cluster Filtering
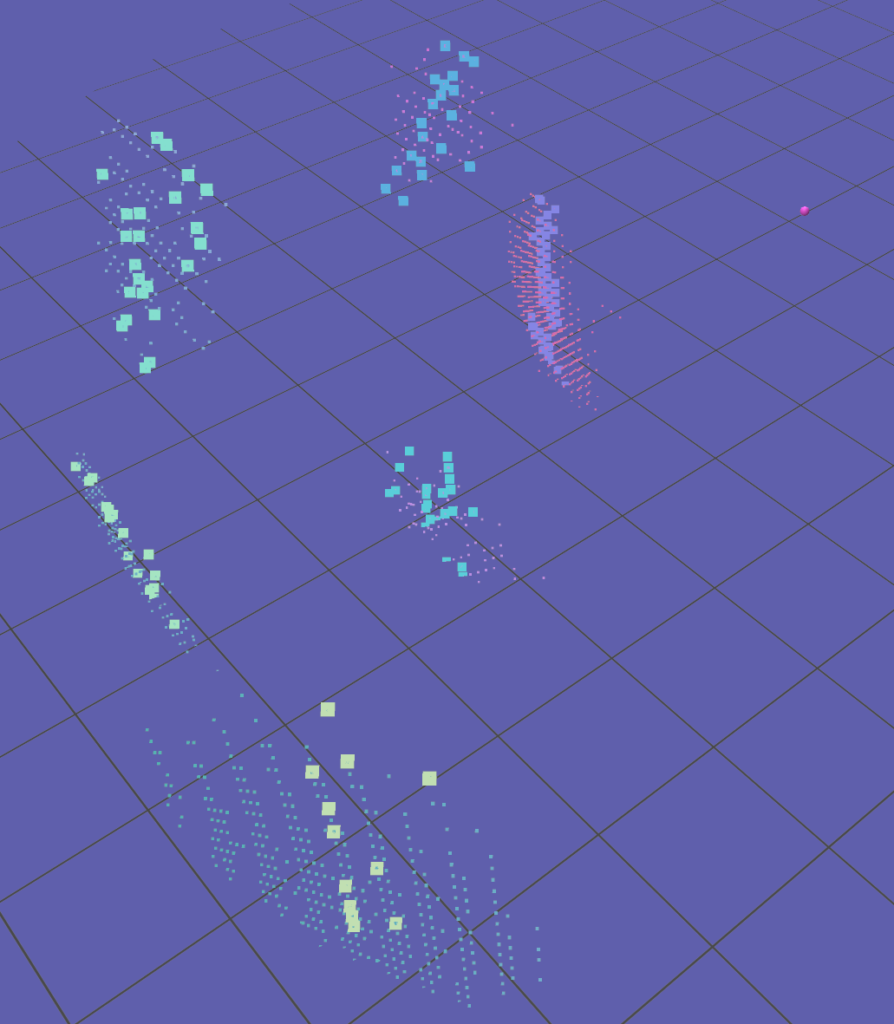
Cluster filtering is an added effect which can be used to filter out points of a given cluster, according to a certain rule. This may enhance object detection when certain assumptions about the objects can be made (i.e., we are looking to detect only vertical poles, as shown below).
4. ROI Options
This window allows you to configure the ‘Region of Interest’ (ROI).

It essentially works be imposing limits in each cartesian dimension on the 2D and 3D imaging. The region will then be re-discretised according to the point-cloud and image sizes set via the ‘Performance Options’, allowing you to ‘enhance’ focus on a particular given region.
The minimum range in each dimension is 1m (Max – Min), and the maximum and minimum values for each dimension are shown above.
5. Perform Imaging
Once you have loaded your device/dataset and are happy with all of your options, you are ready to hit ‘Play’ to launch the imaging process.

Immediately, the ‘Global Options’ window will update to provide access to extra parameters which can be set during imaging.

The dB scale slider can be used to set the noise threshold for the imaging.
The inner radius slider can be used to set the radius, in metres, of the deadzone from the sensor.
6. Structures
The structures window shows all of the registered structures, such as point clouds and colour maps.

